
Step-by-Step: How to Apply DTF Transfers Like a Pro
Step-by-Step: How to Apply DTF Transfers Like a Pro
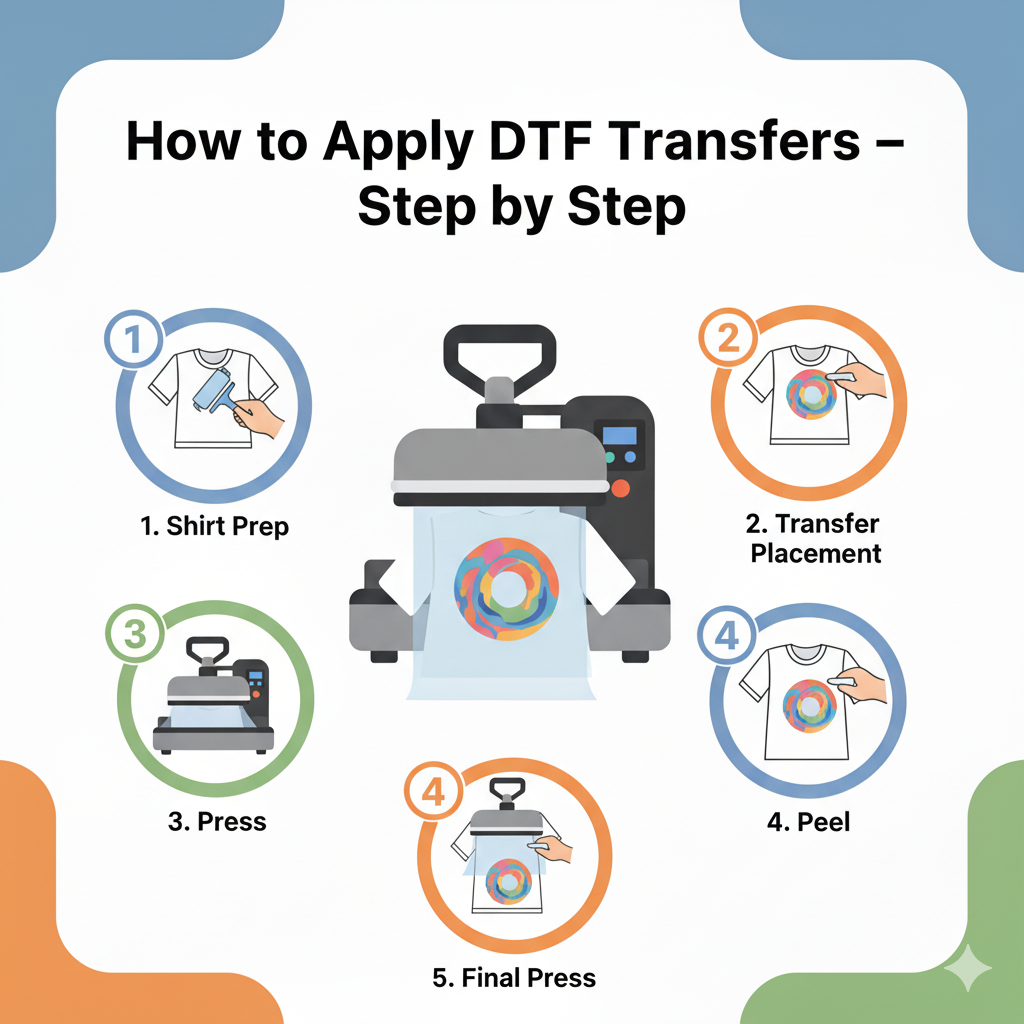
One of the best things about DTF transfers is that anyone with a heat press can apply them and achieve professional results. Whether you’re new to DTF or just want to refine your process, this guide will walk you through each step of applying transfers like a pro.
Step 1: Prepare Your Garment
Place your t-shirt (or other garment) on the heat press. Make sure it’s flat, wrinkle-free, and pre-pressed for 3–5 seconds to remove moisture and creases.
Step 2: Position the Transfer
Place the DTF transfer film on the garment with the printed side facing down. Use heat-resistant tape if necessary to keep it in place.
Step 3: Set Heat Press Settings
Adjust your heat press according to recommended settings. Typical settings are:
- Temperature: 300–320°F (150–160°C)
- Time: 10–15 seconds
- Pressure: Medium to firm
👉 For more details, see our Heat Press Instructions.
Step 4: Press the Transfer
Close the heat press and apply pressure for the set time. Once done, carefully lift the press.
Step 5: Peel the Film
Allow the transfer to cool for a few seconds, then peel off the film. Most DTF transfers are cold peel, but always check your supplier’s instructions.
Step 6: Final Press (Optional)
For extra durability, cover the design with parchment paper or a Teflon sheet and press again for 5–10 seconds.
Pro Tips for Best Results
- Always test your press with a sample before large runs.
- Store DTF transfers in a cool, dry place.
- Wash garments inside out for maximum longevity.
Conclusion
Applying DTF transfers is simple once you know the steps. With the right heat press settings and careful peeling, you can achieve vibrant, durable designs that look and feel professional.
👉 Ready to get started with your own transfers?
- Order by Size
- Upload Ready Gang Sheet
- Build Your Own Gang Sheet
- Order UV DTF Transfers
- Order Glitter DTF Transfers
ℹ️ Need more help? Visit our Artwork Requirements or FAQ pages.
